 Pin
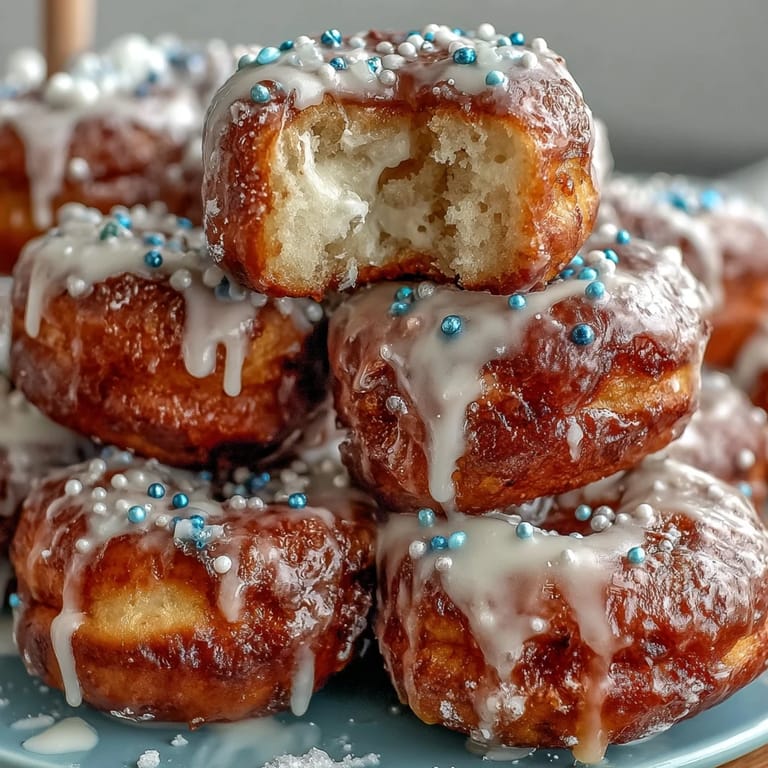
Pin There’s an electric kind of excitement that takes over my kitchen every time I start building a donut tower for a celebration. The anticipation kicks in as I unwrap the bakery boxes, inhale the sweet, yeasty aroma of glazed donuts, and scatter a cascade of confetti-like sprinkles across the prep table. Each donut feels like a little badge of accomplishment, ready to be stacked high for a party-worthy showstopper. The sheer fun of assembling this tower always reminds me that sometimes dessert is meant to be playful, not just delicious.
Making this tower for my cousin’s graduation, my hands were sticky with icing and I caught my reflection—grinning, frosting on my cheek, surrounded by laughter from family waiting for the big reveal. Even the most serious conversations turned into donut debates and sprinkle swaps that night.
Ingredients
- 36 mini glazed donuts: They build height and texture, and I learned store-bought ones save time while being crowd-pleasers.
- Powdered sugar: Sift it if you want super-smooth icing—lumpy icing will never look as polished on your donuts.
- Milk: Add gradually for your icing, as too much can make things runny in a heartbeat.
- Vanilla extract: Adds a nostalgic warmth to the glaze that plays perfectly against the sugary sweetness.
- Colorful sprinkles: Go wild—the more varied, the more festive your tower feels!
- Edible gold stars: A personal favorite for a bit of glitz—totally optional, but they catch the light beautifully.
- Graduation-themed toppers: Instant party points and endless photo ops.
- Styrofoam cone or cake form: Each donut nestles into the shape better with a sturdy base (I suggest 12 inches tall for drama).
- Wooden skewers or toothpicks: Don’t even try without these—trust me, gravity wins otherwise.
Tired of Takeout? 🥡
Get 10 meals you can make faster than delivery arrives. Seriously.
One email. No spam. Unsubscribe anytime.
Instructions
- Prep the Donuts:
- If baking your own, let them cool to room temperature or you’ll end up with melting icing and sliding sprinkles.
- Make the Icing:
- Whisk together powdered sugar, milk, and vanilla in a big bowl until the glaze is velvety and just thick enough to coat the spoon.
- Decorate the Donuts:
- Dip their tops gently in icing, let the excess drip back, then shower them straight away with as many sprinkles as your heart desires before icing sets.
- Set Up the Base:
- Prop the styrofoam cone on your prettiest platter—this is the stage, and height matters for the wow effect!
- Build the Foundation:
- Pierce donuts near the base with skewers, stacking closely together and moving in circles as you work your way up the cone.
- Stack Higher:
- Keep layering, allowing donuts to overlap a bit and filling any gaps with extras—don’t be shy about pressing gently to secure them.
- Add Final Touches:
- Drizzle additional sprinkles or edible stars to close gaps and make your creation sparkle, then crown the tower with your best graduation topper.
- Show Off or Store:
- The tower is best soon after assembly, but if you need time, cover with a big bowl at room temp—no fridge, or you risk sogginess.
 Pin
Pin Watching a sea of bright faces light up as someone plucks the first donut from the tower made all the kitchen effort worth it. In that instant, the dessert felt like a shared ceremony marking the start of something new for everyone there.
Choosing Donuts for Maximum Festivity
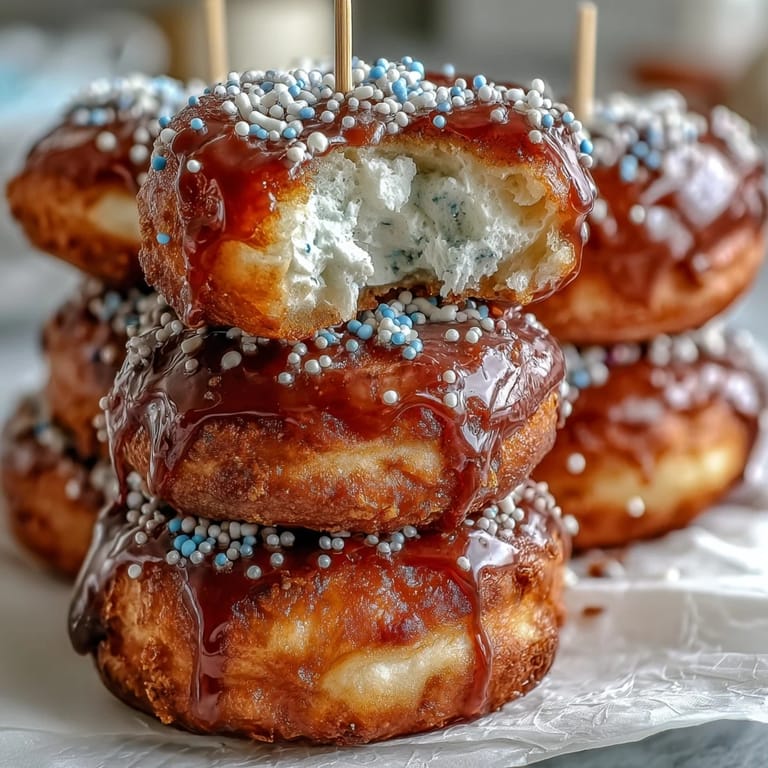
I’ve tried classic glazed, chocolate, even a few filled with jam—every flavor adds a layer of surprise when guests dig in. Mixing a few varieties not only brings color but sparks little adventures for each bite.
Building a Stable, Tall Tower
Start with the largest donuts at the bottom and place each layer snugly; don’t forget to secure them firmly with skewers. A gentle hand saves the structure from toppling while you work upward, and filling empty spots with mini donuts keeps everything looking polished.
Last-Minute Touches That Make It Shine
A gentle spritz of water on the cake form helps donuts stick a touch better if you’re struggling. Don’t add toppers or stars until you’re ready to serve so they stay crisp and festive. Treat any leftover sprinkles as confetti—toss them on the serving plate for a final flourish.
- Bring napkins, lots of them—sticky fingers guaranteed.
- Stash a few extra donuts on the side for latecomers.
- Keep your phone handy for those tower-toppling giggle moments.
 Pin
Pin If you try this donut tower, I hope your celebration is every bit as colorful and joyfully chaotic as mine have been. Here’s to sweet memories and sticky fingers—cheers to the grad!
Recipe FAQ
- → How do I keep the donuts from sliding on the cone?
Use wooden skewers or toothpicks to anchor each donut into the cone and overlap them slightly so each layer supports the next. Allow icing to set briefly before stacking to add grip.
- → What consistency should the glaze be for dipping?
A smooth glaze should be thick but pourable: start with 2 cups powdered sugar and 3 tablespoons milk, adding a splash more milk if too stiff. It should coat without running off completely.
- → Can I use different donut types or flavors?
Yes. Mix glazed, chocolate, or mini filled donuts for variety. Keep sizes consistent for even stacking and consider sturdier varieties near the base if using heavier fillings.
- → How far ahead can I assemble the tower?
Assemble close to serving time and present within two hours at room temperature for best texture. If you must prepare earlier, keep the tower loosely covered to prevent drying, but avoid refrigeration to prevent sogginess.
- → Any tips for transporting the tower?
Assemble on the serving platter or a sturdy base. If transporting assembled, place in a shallow box to protect toppers and secure the base to prevent sliding. When possible, assemble on site for easiest transport.
- → What about allergens and substitutions?
The donuts contain wheat, egg, and milk; check labels for traces of nuts or soy. Use certified gluten-free or dairy-free donuts and alternative icings to accommodate dietary needs.