 Pin
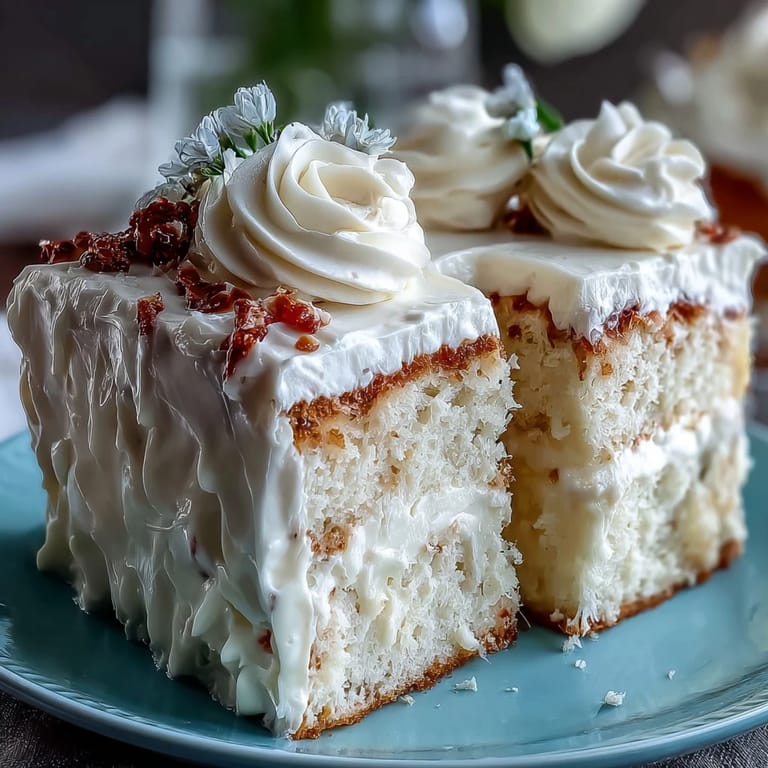
Pin My sister called me three weeks before her birthday asking if I could make her a cake, and honestly, I almost said no—until she mentioned wanting something with pastel florals that looked like spring itself. Standing in my kitchen that afternoon, I realized I'd been making the same chocolate cake for years, and maybe it was time to try something that actually celebrated the person instead of just filling a plate. This vanilla cake with its creamy buttercream layers became my answer, and watching her face when she saw those soft pink and lavender piped flowers made every careful decoration worth it.
I'll never forget my neighbor peeking over the fence while I was setting up a garden party table, and she literally gasped when she saw this cake sitting there in the afternoon light. Those pastel colors—soft pinks bleeding into lavenders and creams—somehow made the whole celebration feel more special than any store-bought version could. People kept asking if I'd ordered it from a bakery, and I realized that's when you know a homemade cake has crossed from just-pretty to actually-memorable.
Ingredients
- All-purpose flour (2 ½ cups): This is your foundation—make sure it's fresh and not compacted, because scooping straight from the bag can throw off your ratios and make the cake dense.
- Baking powder (2 ½ tsp): Double-check the expiration date, because old baking powder won't give you that light, airy crumb you're counting on.
- Salt (½ tsp): Don't skip this; it brightens the vanilla and keeps the cake from tasting flat.
- Unsalted butter, room temperature (1 cup for cake, 1 ½ cups for buttercream): Cold butter won't cream properly, so pull it out at least an hour before you start—this is non-negotiable for fluffy layers.
- Granulated sugar (2 cups): This feeds the creaming process and creates that light, tender crumb that makes the cake melt on your tongue.
- Large eggs, room temperature (4): Cold eggs will curdle the batter and create a grainy texture, so warm them up in a bowl of hot water for a few minutes.
- Pure vanilla extract (1 tbsp for cake, 2 tsp for buttercream): Splurge on real vanilla here—the artificial stuff tastes tinny and will make people taste that instead of your beautiful cake.
- Whole milk, room temperature (1 cup for cake, ¼ cup for buttercream): Temperature matters because it helps the batter emulsify smoothly and bake evenly.
- Powdered sugar, sifted (6 cups): Lumpy powdered sugar creates gritty buttercream, so take the thirty seconds to sift it—your frosting will be silky.
- Gel food coloring (pink, yellow, lavender, green, blue): Gel colors are more concentrated than liquid, so you won't thin out your buttercream trying to get those gorgeous pastels.
- Edible flower petals and sprinkles (optional): These become your signature touches—I use pansies or violas from my garden, or candied rose petals if I'm feeling fancy.
Tired of Takeout? 🥡
Get 10 meals you can make faster than delivery arrives. Seriously.
One email. No spam. Unsubscribe anytime.
Instructions
- Set yourself up for success:
- Preheat your oven to 350°F and get those three 8-inch pans lined with parchment paper—the paper is worth it because it means your cake edges won't stick and crack. Grease the pans too, just to be safe.
- Build your dry team:
- Whisk together your flour, baking powder, and salt in a medium bowl, making sure you break up any clumps in the flour. This step distributes the leavening evenly, which is what gives you that beautiful, even rise.
- Cream butter and sugar until clouds form:
- Beat the room-temperature butter and sugar together on medium-high speed for 3 to 4 minutes—you're looking for a pale, fluffy mixture that's almost doubled in volume. This is where the magic starts; you're aerating the butter, which creates tiny air pockets that become the cake's tender crumb.
- Add eggs like you're building a bridge:
- Add each egg one at a time, beating well after each addition so it fully incorporates—rushing this step or dumping them all in at once can break the emulsion and give you a grainy cake. Then mix in your vanilla extract.
- Alternate wet and dry in three parts:
- Start with flour, then milk, then flour again, mixing until just combined after each addition—overmixing develops gluten and toughens the cake. You want a batter that comes together gently, not one you've beaten into submission.
- Divide and pour:
- Split the batter evenly among your three prepared pans, smoothing the tops with an offset spatula so they bake evenly. Uneven surfaces mean uneven baking.
- Bake with patience:
- Pop them in the oven for 25 to 30 minutes—start checking around the 25-minute mark with a toothpick in the center. You're done when the toothpick comes out clean with no wet batter clinging to it.
- Cool like you mean it:
- Let the cakes rest in their pans for 10 minutes (this lets them set without collapsing), then turn them out onto a wire rack to cool completely. This takes about an hour, so don't rush it or your buttercream will melt off warm cake.
- Make your buttercream magic:
- Beat room-temperature butter until it's creamy, then gradually add your sifted powdered sugar along with milk, vanilla, and a pinch of salt. Beat for 3 to 4 minutes until it's light, fluffy, and spreadable—this is your canvas.
- Color your dreams:
- Divide your buttercream into separate bowls and tint each with gel food coloring—start with a tiny amount on a toothpick and build the color gradually, because it's easier to add more color than to dilute it back down.
- Layer with confidence:
- Place your first cake layer on a serving plate, spread a generous layer of buttercream on top, and repeat with the remaining layers. You're building something that will stand proud and tall.
- Apply the crumb coat:
- Spread a thin layer of buttercream over the entire cake—this seals in the crumbs so your final decoration looks polished. Chill for 20 minutes until this layer is firm.
- Pipe your flowers:
- Using piping bags fitted with various tips (I like petal tips for roses and round tips for dots), create your floral design with your pastel buttercreams. Work slowly and let each color dry slightly between changes, and remember that imperfect petals look more charming than perfect ones anyway.
- Final chill and serve:
- Refrigerate the finished cake for 15 to 20 minutes so the buttercream sets and holds its shape when you cut into it. Serve it slightly chilled—the cake and frosting texture is perfect that way.
 Pin
Pin There was this moment at my sister's party when three different people asked me for the recipe at the same time, and I realized this cake had become the kind of thing people actually wanted to recreate in their own kitchens. It wasn't fancy or complicated, but it was made with real butter and real care, and somehow that showed.
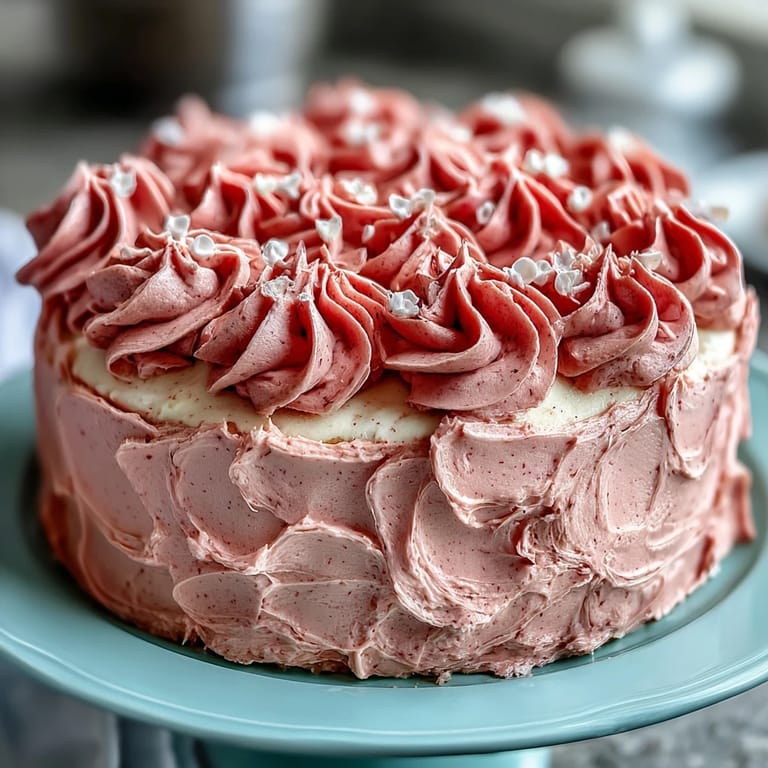
Why Pastel Colors Matter
Pastels do something different than bright colors—they feel soft and celebratory without being aggressive. When I first made this cake in deep pink and purple, it looked heavy, but switching to pale, washed-out versions of those same colors made the whole cake feel spring-like and gentle. The pastels also photograph beautifully in natural light, which matters more than you'd think if this cake is heading to social media or a family photo session.
The Buttercream Thickness Game
I learned the hard way that buttercream consistency is everything—too soft and it slumps between your layers, too stiff and it tears the delicate cake underneath. The sweet spot is when your buttercream holds a shape but still feels spreadable, almost like cool whipped cream. If yours is too soft, chill it in short bursts; if it's too stiff, add milk one teaspoon at a time and beat it back to silky smoothness.
Make It Ahead of Time
This cake actually rewards advance planning because the flavors deepen overnight, and you can have the baking done a full day before your celebration. Wrap the cooled cake layers individually in plastic wrap and store them at room temperature, then make your buttercream and decorate the morning of your event when you're fresh and focused.
- The baked cake layers keep for up to two days wrapped at room temperature, or freeze them for up to three months if you're really planning ahead.
- Buttercream can be made up to three days ahead and stored in an airtight container in the fridge—just let it come to room temperature and re-beat it for a minute before piping.
- A fully decorated cake keeps beautifully in a cool room for about four hours, or in the fridge for up to eight hours if you're serving it chilled anyway.
 Pin
Pin Making this cake became less about following instructions and more about creating something that made someone feel celebrated, and that's really what baking is about. The technical skills matter, but the love you put into it—that's what people actually taste.
Recipe FAQ
- → What ingredients enhance the cake’s vanilla flavor?
Using pure vanilla extract along with room-temperature eggs and butter helps bring out a rich, smooth vanilla taste in the cake.
- → How do I achieve smooth pastel buttercream colors?
Divide the buttercream evenly, then blend gel food coloring lightly to create soft pastel shades without overpowering the frosting's texture.
- → Can I substitute any ingredients for dietary needs?
While this cake contains dairy and gluten, you can explore alternative flours and non-dairy butters, though texture and flavor may vary.
- → What’s the best way to pipe floral buttercream decorations?
Use piping bags fitted with assorted tips, practicing on parchment first to create petals and rosettes with gentle pressure and consistent motion.
- → How should I store the finished cake?
Keep the cake chilled in a covered container to maintain buttercream firmness and freshness, removing from the fridge shortly before serving.