 Pin
Pin The sound of strawberries tumbling onto the cutting board somehow signals that spring is truly here. I wasn’t planning to make jam that morning, but the market’s sweet scent of ripe berries lured me in—before I knew it, my basket was filled with scarlet fruit and a day of gentle simmering awaited. In my tiny kitchen with sun speckling the counter, transforming those berries into jam felt less like a chore and more like a celebration. The kitchen filled with aromas so bright and vivid they seemed to open every window in the house. Few things rival the satisfaction of spreading homemade jam on warm toast, especially when you made it yourself just hours before.
I remember scooping the still-warm jam onto a biscuit as my neighbor peeked in through the back door, drawn by the fragrant promise of strawberries and sugar. We ended up chatting right there in the kitchen, licking sticky jam from our fingers, debating whether it truly needed vanilla or not. The moment was less about preserving fruit and more about lingering over something homemade, unexpected, and too delicious not to share.
Ingredients
- Fresh strawberries: Only the ripest, reddest berries will give you that lively color and real springtime sweetness. I always hull and halve them, checking for any hidden bruises—those can sneak in bitterness.
- Granulated sugar: The classic choice for jam, sugar helps set the texture and protects that jewel-bright color. If you prefer your jam less sweet, resist the urge to reduce it too much or risk a runny spread.
- Freshly squeezed lemon juice: It’s subtle, but lemon juice heightens the strawberries’ flavor and brings balance. I learned the hard way that bottled juice just isn’t the same.
- Vanilla bean or pure vanilla extract (optional): This is my favorite twist—the scent of vanilla makes the whole kitchen dreamy. Split a vanilla pod lengthwise and scrape the seeds, or add a splash of extract at the end for aroma.
Tired of Takeout? 🥡
Get 10 meals you can make faster than delivery arrives. Seriously.
One email. No spam. Unsubscribe anytime.
Instructions
- Prep the Berries:
- Hull and halve your strawberries, then toss them into a heavy-bottomed saucepan. Use a potato masher to gently crush about half, leaving some juicy pieces for little bursts of fruit.
- Add Sugar and Lemon:
- Pour in the sugar and the fresh lemon juice, stirring well. Let the mixture sit for ten minutes—watch as the berries glisten and release their juices, promising flavor ahead.
- Bring in the Vanilla:
- If using, add both the seeds and pod of a vanilla bean. This ingredient will fill your kitchen with a gentle floral note.
- Start Cooking:
- Place the pan over medium heat and bring to a gentle boil, stirring often to dissolve the sugar and prevent sticking. As the mixture simmers, skim off any foam for a crystal-clear jam.
- Achieve Jam Perfection:
- Continue to cook for about 20–25 minutes, stirring frequently. When it reaches 220°F on a candy thermometer, test a spoonful on a chilled plate—if it wrinkles when nudged, you’re done.
- Cool and Jar:
- Remove from the heat, fish out the vanilla pod, and let the jam cool for five minutes. Ladle the jam into sterilized jars, seal, and let cool completely at room temperature before refrigerating.
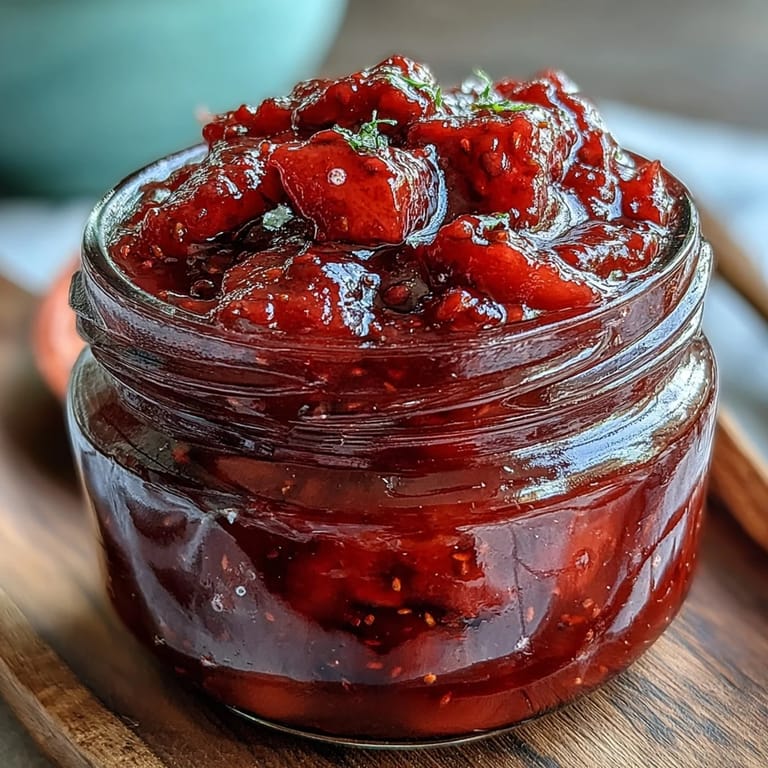
 Pin
Pin  Pin
Pin The first time I gifted a jar with a scrap of fabric tied around the lid, my sister said she felt as if she’d stepped into a storybook. That’s when I realized this jam carries a kind of magic, turning simple breakfasts and small moments into something a little brighter.
Choosing Your Strawberries
Look for strawberries that smell sweet even before you bite—aroma is everything. I always taste one before buying a batch at the market, and if they’re soft without being mushy, you know they’ll break down just right for jam.
Getting a Perfect Set
Sometimes jam seems stubbornly runny until the last moment. Don’t panic: turn off the heat and test on a cold plate, then return to the heat if needed, watching as it suddenly thickens before your eyes.
Little Touches That Make It Yours
Try adding a sprig of fresh thyme or basil for a subtle herbal twist if you’re feeling adventurous. If you’re gifting, recycled jars with bits of cloth or twine look delightfully rustic.
- Label your jars with the date for easy tracking.
- Never fill jars all the way to the brim—leave a little space.
- Always use a clean spoon each time so your jam stays fresh longer.
 Pin
Pin 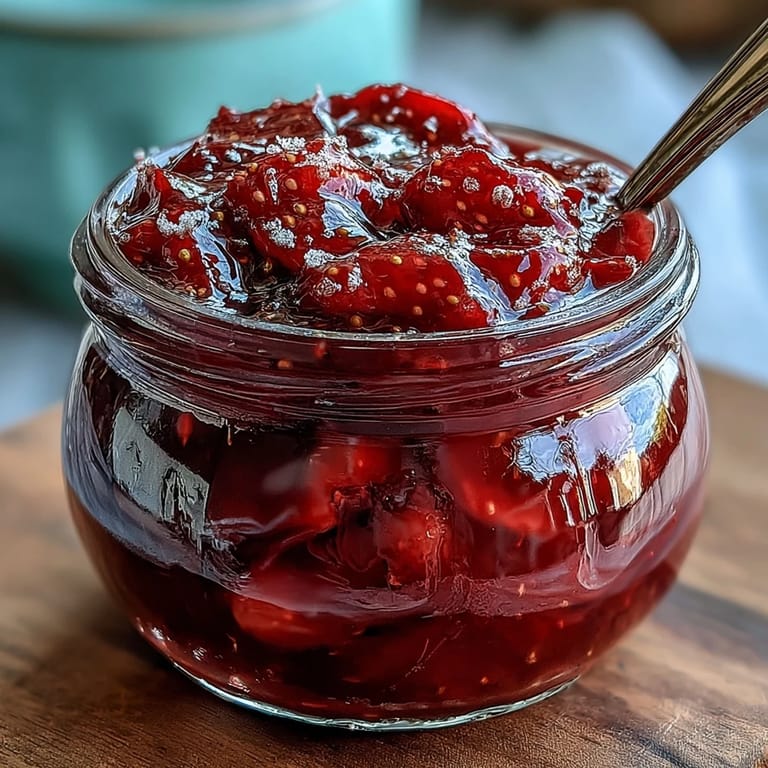 Pin
Pin This strawberry jam seems to bring smiles to every simple breakfast or surprise gift. It’s proof that a little time and a lot of fruit can fill a whole day with goodness.
Recipe FAQ
- → What sugar-to-fruit ratio is used?
This version uses 250 g sugar to 500 g strawberries (about 1:2). It balances sweetness and helps the jam set; reduce sugar for tarter fruit but expect a softer set.
- → How do I know when the jam has set?
Cook until the mixture thickens, about 20–25 minutes, or reaches 105°C (220°F). Use the chilled plate test: a spoonful will wrinkle when pushed if it's ready.
- → Can I swap sweeteners or adjust sugar?
Granulated sugar gives the best gel and shine. Honey or alternative sweeteners change flavor and may yield a looser set; adjust cooking time and taste for balance.
- → How should I sterilize jars?
Wash jars in hot soapy water, then boil or heat in a 120°C oven to sterilize. Fill jars while the jam is hot and seal immediately; process in a boiling water bath for longer shelf life.
- → Any tips for flavor variations?
Add a split vanilla bean or 1 tsp extract for warmth, or stir in lemon zest for brightness. Fresh thyme or basil added toward the end adds a herbal note without overpowering the berries.
- → How long will the jam keep?
Unprocessed jars stored in the fridge should be used within about 1 month. If you process sealed jars in a boiling water bath, they can keep for several months unopened.