 Pin
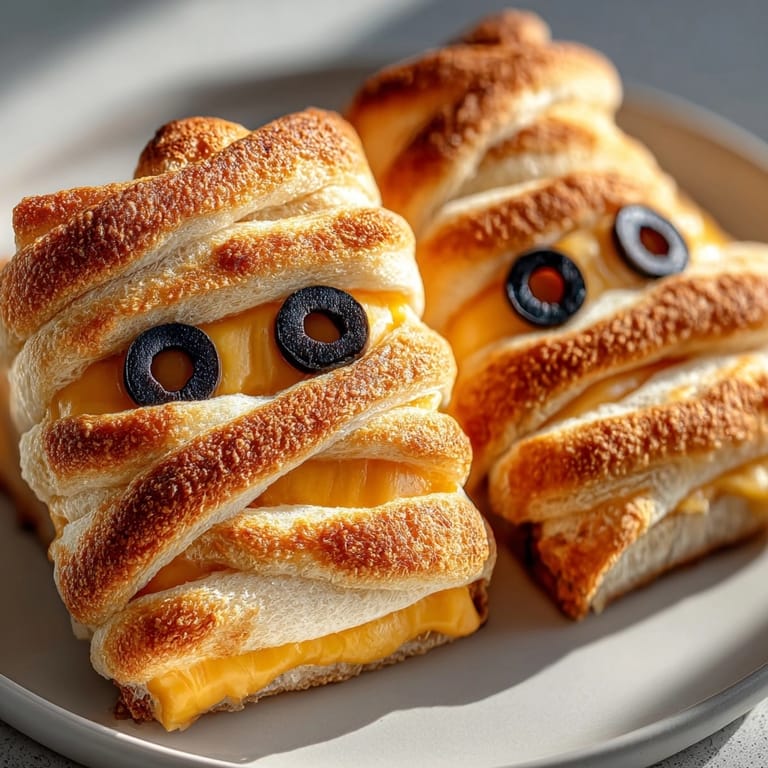
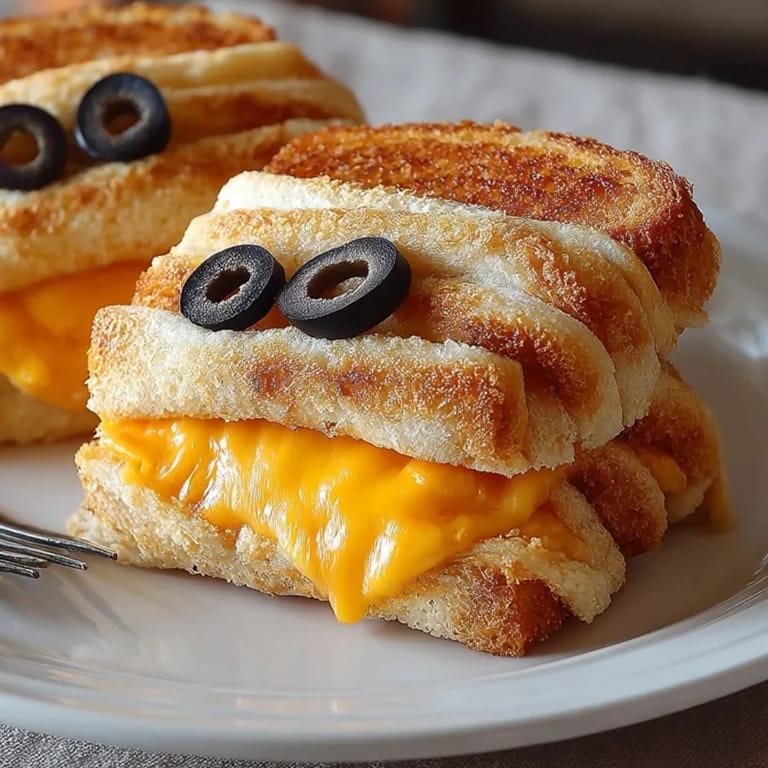
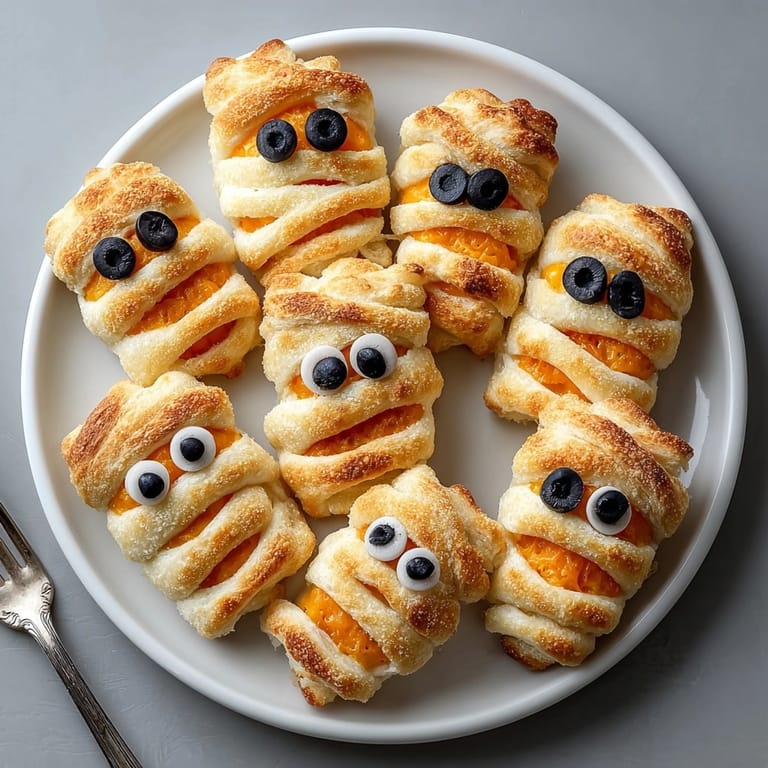
Pin This Halloween-inspired grilled cheese mummy wrap recipe transforms ordinary ingredients into spooky, delicious treats perfect for your October festivities. The golden, crispy crescent dough wrapped around melty cheese creates adorable mummies that are as fun to make as they are to eat, complete with olive slice eyes that give them their ghostly character.
I first made these for my nephew's Halloween party last year, and they were such a hit that the adults were sneaking them off the kids' plates. Now they've become our official Halloween tradition, with everyone gathering in the kitchen to help wrap our cheese mummies.
Ingredients
- 1 can refrigerated crescent roll dough: The flaky texture creates perfect mummy bandages and bakes to a beautiful golden color
- 8 slices cheddar cheese: Choose a good melting cheese for the gooey center. Medium or sharp cheddar provides the best flavor balance
- 16 black olive slices: These create the classic spooky eyes. Look for pitted olives that are uniform in size for the best appearance
- 2 tbsp melted butter: Optional but adds a beautiful golden color and rich flavor to the dough. Use unsalted butter for better control of flavor
Tired of Takeout? 🥡
Get 10 meals you can make faster than delivery arrives. Seriously.
One email. No spam. Unsubscribe anytime.
Instructions
- Prepare the oven:
- Preheat your oven to 375°F and line a baking sheet with parchment paper. The parchment prevents sticking and makes cleanup much easier. Make sure your oven rack is positioned in the middle for even baking.
- Prepare the dough:
- Unroll the crescent dough carefully on a clean surface. Press the perforations together to create a single sheet, then cut into 8 equal rectangles. From half of these rectangles, cut thin strips about half an inch wide to create the mummy bandages. Keep the remaining rectangles intact for the base.
- Create the mummy base:
- Place a slice of cheese onto each of the intact dough rectangles, leaving a small margin of dough around the edges. The cheese should be slightly smaller than the dough base to prevent excessive melting over the sides.
- Wrap the mummies:
- Take the thin strips of dough and wrap them across the cheese slices in different directions, creating the appearance of mummy bandages. Leave small gaps between the strips and be sure to leave space near the top for adding the olive eyes later. Do not wrap too tightly as the dough will expand during baking.
- Prepare for baking:
- Transfer your wrapped mummies carefully to the parchment lined baking sheet, spacing them about 2 inches apart. If using, brush the exposed dough lightly with melted butter for a more golden appearance and richer flavor.
 Pin
Pin The black olives are truly what bring these mummies to life. I discovered this by accident when I ran out of candy eyes one year and had to improvise. The savory olive actually complements the cheese perfectly, and now I prefer them to the sweeter alternatives. My daughter loves helping place the eyes, carefully positioning them to give each mummy its own unique personality.
Storage Tips
These mummy wraps are best enjoyed fresh from the oven while the cheese is still warm and gooey. However, if you have leftovers, store them in an airtight container in the refrigerator for up to 2 days. To reheat, place them in a 350°F oven for about 5 minutes until warmed through. Avoid microwaving as this will make the crescent dough soggy rather than crisp.
Ingredient Substitutions
If you need to adapt this recipe for dietary restrictions or preferences, there are several easy swaps you can make. For a gluten free option, look for gluten free crescent roll dough, which is becoming more widely available. Dairy free cheese alternatives will work but may not melt as smoothly as traditional cheese. For a lower fat version, try using reduced fat cheese and skip the butter brush. The flavor profile can be completely changed by using different cheese varieties like pepper jack for a spicy kick or mozzarella for a milder, stretchier cheese pull.
Serving Suggestions
These mummy wraps pair wonderfully with a variety of Halloween themed sides and dips. Serve them with a blood red marinara sauce for dipping, or create a graveyard scene by placing them upright in a bowl of guacamole dip made to look like grass. For a complete Halloween meal, pair with roasted pumpkin soup served in small hollowed out pumpkins, a spooky salad with black olives and orange bell peppers, or sweet potato fries cut into ghost shapes.
Seasonal Adaptations
Halloween themed but easily adaptable. Can be modified for Christmas by using red and green bell peppers instead of olives. Perfect for game day parties by shaping into footballs instead of mummies. Can be made year round by skipping the mummy wrapping and making traditional grilled cheese squares.
Success Stories
Many parents have shared how these mummy wraps have become their go to Halloween recipe, with one mom telling me her picky eater tried cheese for the first time because it was disguised as a mummy. A teacher used this recipe for a classroom Halloween party activity where each child could customize their own mummy, creating a memorable cooking experience. Another family adapted the recipe for a Harry Potter themed party, calling them Mummy Weasleys as a play on the character name.
 Pin
Pin These mummy wraps are a fun and festive way to celebrate Halloween. They are sure to be a hit with kids and adults alike, providing a delicious and memorable treat.
Recipe FAQ
- → Can I use a different cheese?
Yes, mozzarella or pepper jack can be used for variety and extra flavor. Choose your favorite!
- → How do I make the mummies look more realistic?
Wrap the dough strips unevenly and leave space for eyes. Add olive slices or candy eyes for effect.
- → Can I prepare these in advance?
They taste best fresh, but you can assemble them ahead and bake right before serving.
- → What sauces pair well?
Marinara, ranch, or honey mustard make great dips to serve alongside the cheesy mummies.
- → Are there dairy-free options?
Use vegan cheese and ensure the dough is dairy-free to suit dietary needs.