 Pin
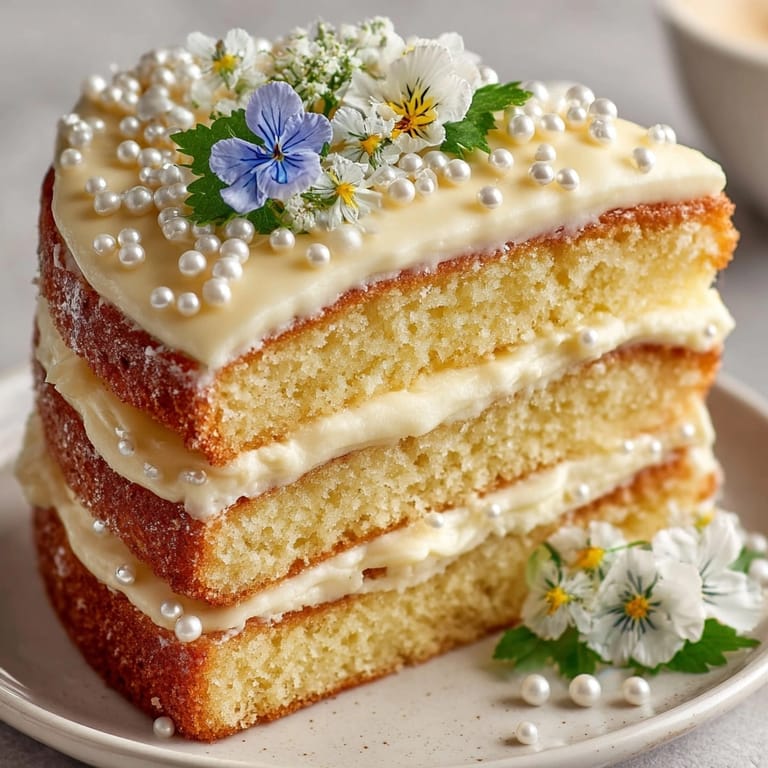
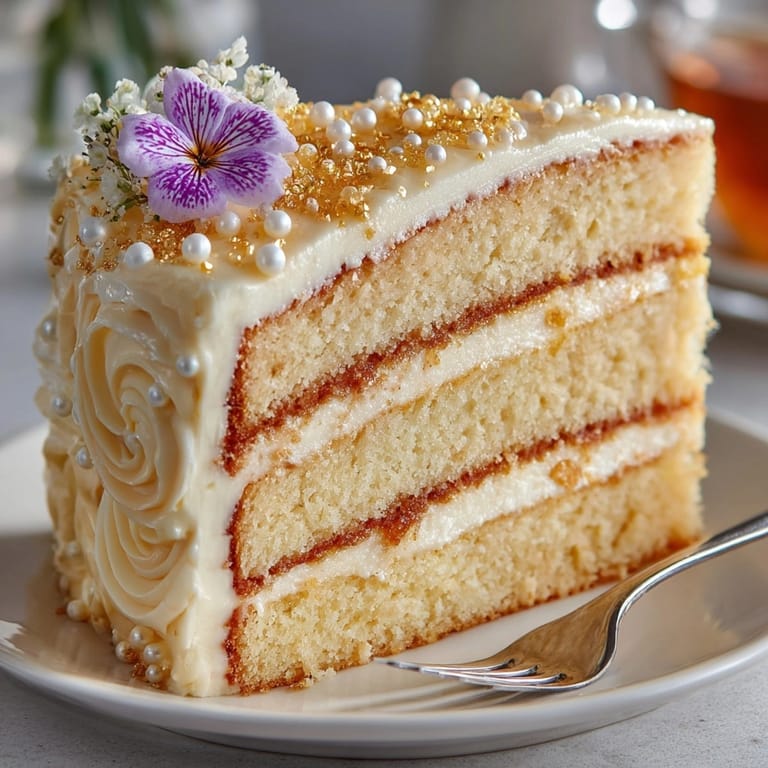
Pin This Rococo Revival Vanilla Layer Cake has become my signature celebration dessert, transforming ordinary gatherings into elegant affairs with its classic flavor profile and stunning presentation.
I first created this cake for my sister's engagement party, and the gasps when I brought it to the table convinced me that sometimes beauty and taste can perfectly coexist. The edible pearls catch the light in a way that makes the cake look almost too precious to cut.
Ingredients
- For the Cake
- All purpose flour: provides structure while remaining tender enough for a delicate crumb
- Baking powder: ensures the perfect rise without overwhelming leavening taste
- Fine sea salt: enhances the vanilla flavor and balances sweetness
- Unsalted butter at room temperature: creates that rich mouthfeel use European style for extra richness
- Granulated sugar: measured precisely for ideal sweetness and proper creaming
- Large eggs at room temperature: incorporate better and provide structure
- Pure vanilla extract: splurge on high quality for the best flavor profile
- Whole milk: adds moisture and richness low fat milk will not yield the same results
- For the Vanilla Buttercream
- Unsalted butter at room temperature: whips to perfect consistency when properly softened
- Powdered sugar: sifted to eliminate lumps for silky smooth frosting
- Whole milk: adds just enough moisture without thinning the frosting
- Pure vanilla extract: reinforces the cake's primary flavor
- Fine sea salt: balances sweetness in the frosting
- For Decoration
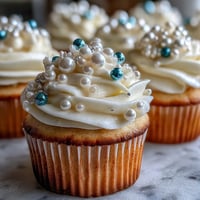
- Edible pearls: in varying sizes create visual interest and textural contrast
- Fresh edible flowers: optional but add a romantic touch ensure they are truly food safe
Tired of Takeout? 🥡
Get 10 meals you can make faster than delivery arrives. Seriously.
One email. No spam. Unsubscribe anytime.
Instructions
- Prepare the Pans:
- Preheat your oven to exactly 350°F using an oven thermometer for accuracy. Thoroughly grease three 8 inch cake pans with butter then line with parchment circles cut to fit perfectly. Extend the parchment slightly up the sides for easy removal later. A light dusting of flour ensures nothing sticks.
- Mix Dry Ingredients:
- Whisk together flour baking powder and salt in a medium bowl until completely uniform. This prevents clumping and ensures even distribution of leavening agents throughout the batter. Whisking also aerates the flour slightly.
- Cream Butter and Sugar:
- In a stand mixer fitted with the paddle attachment beat room temperature butter and sugar for a full 3 minutes until noticeably lighter in both color and texture. Stop once to scrape down the sides. The mixture should be fluffy and almost white rather than yellow.
- Add Eggs and Vanilla:
- Add each egg individually beating for 30 seconds between additions. This prevents curdling and maintains the air incorporated during creaming. After all eggs are incorporated add the vanilla and mix just until combined about 10 seconds.
- Combine Wet and Dry:
- Add the flour mixture in three additions alternating with two additions of milk always starting and ending with flour. Mix on low speed just until each addition disappears about 5 to 10 seconds per addition. Overmixing activates gluten and toughens the cake.
- Fill and Bake:
- Divide batter equally between prepared pans using a digital kitchen scale for perfect layers. Smooth tops with an offset spatula and tap pans gently on counter to release air bubbles. Bake in the center of the oven for 25 to 30 minutes until the edges pull slightly away from pans.
- Cool Properly:
- Allow cakes to rest in pans for exactly 10 minutes before inverting onto cooling racks. Remove parchment paper carefully and allow to cool completely for at least 1 hour. Rushing this step can cause cakes to crack or crumble.
- Make Buttercream:
- Beat room temperature butter in a clean bowl for 2 minutes until creamy and light. Add powdered sugar one cup at a time mixing on low speed initially then increasing to medium. Add milk vanilla and salt after second cup of sugar. Beat for a full 5 minutes for ultimate fluffiness.
- Assemble Cake:
- Level cooled cake layers with a serrated knife for perfectly flat surfaces. Place first layer on serving plate and spread with 3/4 cup buttercream. Repeat with second layer. Place third layer top side down for a flat finishing surface.
- Frost and Decorate:
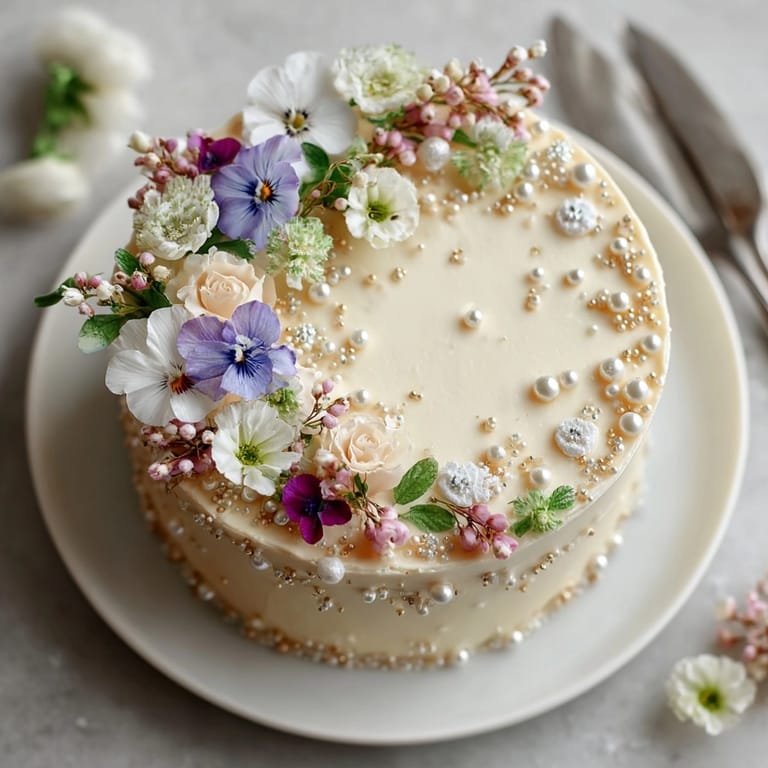
- Apply a thin crumb coat of buttercream and chill for 15 minutes. Then apply final coat of buttercream using an offset spatula for smooth sides and top. Decorate with edible pearls in an elegant pattern reminiscent of Rococo design. Add edible flowers if desired for a fresh touch.
 Pin
Pin Vanilla might seem like a simple flavor but in this cake it truly shines. I use Madagascar bourbon vanilla extract for its rich floral notes that complement the buttery layers perfectly. My grandmother always said that vanilla is never just vanilla when given proper attention and this cake proves her right every time.
Make Ahead Options
This cake works beautifully as a make ahead dessert. You can bake the layers up to two days in advance wrap them tightly in plastic wrap and store at room temperature. Alternatively freeze the unfrosted layers for up to a month just be sure to wrap them in plastic and then aluminum foil to prevent freezer burn. The buttercream can be made up to three days ahead and stored in an airtight container in the refrigerator bring to room temperature and rewhip before using. The fully assembled cake can be refrigerated for up to two days before serving just allow it to come to room temperature for about an hour before serving for the best flavor and texture.
Flavor Variations
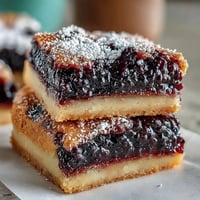
While the classic vanilla version is timeless this cake adapts beautifully to different flavor profiles. For a citrus twist add the zest of two lemons or oranges to the batter and a tablespoon of corresponding juice to the frosting. For a more sophisticated version split the layers and add a thin spread of raspberry preserves between them the slight tartness beautifully complements the sweet buttercream. Coffee lovers can dissolve two tablespoons of espresso powder in the milk before adding it to the batter and frost with coffee buttercream instead of vanilla. For special occasions consider adding a splash of champagne to the batter and frosting for a celebratory twist that pairs wonderfully with the elegant pearls.
Serving Suggestions
Present this cake on a vintage cake stand to enhance its Rococo inspiration. Serve slices with fresh berries on the side for a pop of color and complementary flavor. This cake pairs beautifully with coffee especially a light roast that won't overwhelm the delicate vanilla notes. For a more indulgent experience serve with a small glass of dessert wine like Sauternes or a late harvest Riesling. If serving at a formal occasion consider plating individual slices with a light dusting of powdered sugar and a single edible flower for an elegant presentation that continues the Rococo theme.
 Pin
Pin Historical Context
The Rococo movement originated in 18th century France characterized by ornate decoration light colors and asymmetrical designs. This cake pays homage to that aesthetic with its elegant pearls and refined presentation. During the Rococo period desserts were not just food but artistic statements and social currency among the aristocracy. The elaborate cakes of that era often featured sugar sculptures edible gold leaf and intricate piping work. While this modern interpretation is simplified it still captures the essence of Rococo indulgence and beauty. The pearls specifically reference the period's fascination with natural forms reimagined through an ornamental lens making this cake not just delicious but a conversation piece about culinary history.
This cake is sure to impress with its classic flavor and elegant design. Enjoy every beautiful bite!
Recipe FAQ
- → How do I achieve fluffy vanilla cake layers?
Cream butter and sugar thoroughly and alternate adding dry ingredients and milk, ending with flour, to maintain a soft texture.
- → Can I use store-bought pearls for decoration?
Yes, sugar pearls or dragées are widely available. Always confirm they are edible and safe for all guests.
- → What tips help get smooth buttercream?
Beat softened butter well before gradually adding sifted powdered sugar. Add milk slowly and blend until light and fluffy.
- → Do I need to level the cake layers?
Leveling ensures a stable and visually appealing cake. Use a serrated knife or cake leveler for even results.
- → How can I add a delicate flavor twist?
Add a drop of rose or orange blossom water to the buttercream for subtle floral notes. Try not to overpower the vanilla.
- → What is the best way to get clean slices?
Chill the finished cake for 20 minutes, then use a sharp knife wiped clean between cuts for neat presentation.