Pin
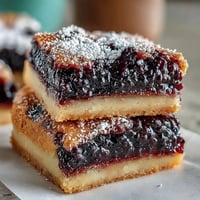
Pin This whimsical dessert was born from a happy accident in my kitchen when my carefully constructed gingerbread house toppled over right before my daughter's holiday party. Instead of starting over, I crumbled everything into a pan with some cake batter and created these delightfully chaotic bars that capture all the magic of gingerbread houses without the architectural stress.
I've made these bars for three holiday seasons now, and they're always the first dessert to disappear from the table. My kids love helping sprinkle the toppings, and there's something so satisfying about the beautiful mess they create. The bars taste like nostalgia with every bite.
Ingredients
- All purpose flour: provides the sturdy base that holds all our fun additions together beautifully
- Light brown sugar: packed tight adds moisture and that deep molasses flavor that makes gingerbread special
- Baking soda and baking powder: work together to create the perfect tender crumb without being too cake like
- Ground ginger: is the star spice so use fresh if possible for the most vibrant flavor
- Ground cinnamon: adds warmth and pairs perfectly with the ginger
- Ground cloves: bring depth but use sparingly as they can overpower
- Ground nutmeg: provides subtle complexity that rounds out the spice blend
- Unsalted butter: melted gives richness while keeping the bars tender
- Large eggs: at room temperature bind everything and add structure
- Unsulphured molasses: is crucial for authentic gingerbread flavor and gorgeous color
- Whole milk: adds moisture and helps create that perfect chewy texture
- Vanilla extract: enhances all the other flavors
- Mini marshmallows: get slightly toasted and gooey creating pockets of sweetness
- Mini chocolate chips: hold their shape better than regular chips in these bars
- Crushed gingerbread cookies or graham crackers: add texture and boost the gingerbread theme
- Assorted candy pieces: are where you can get creative with colors and flavors
Tired of Takeout? 🥡
Get 10 meals you can make faster than delivery arrives. Seriously.
One email. No spam. Unsubscribe anytime.
Instructions
- Prepare Your Workspace:
- Preheat your oven to 350°F and take a moment to grease your 9x13 inch pan thoroughly or line it with parchment paper leaving some overhang for easy removal. This step prevents sticking and makes cleanup so much easier later.
- Mix the Dry Foundation:
- In your largest mixing bowl, whisk together the flour, packed brown sugar, baking soda, baking powder, salt, and all your spices until completely combined. Make sure to break up any lumps in the brown sugar as you whisk. The mixture should smell incredibly aromatic and festive.
- Combine Wet Ingredients:
- In a separate medium bowl, whisk the melted butter with eggs until smooth, then add the molasses, milk, and vanilla extract. Whisk vigorously until the mixture is completely smooth and glossy. The molasses can be thick, so take your time to incorporate it fully.
- Create the Batter:
- Pour your wet ingredients into the dry mixture and stir gently with a wooden spoon or spatula until just combined. Stop mixing as soon as you no longer see dry flour streaks. Overmixing will make your bars tough instead of tender and chewy.
- Add Half the Fun Stuff:
- Fold in half of your mini marshmallows, chocolate chips, and crushed cookies using gentle folding motions. Reserve the other half for the spectacular topping that makes these bars so visually appealing.
- Spread and Top:
- Spread the thick batter evenly into your prepared pan using an offset spatula or the back of a spoon. Now comes the fun part: sprinkle the remaining marshmallows, chocolate chips, cookie crumbs, and all your assorted candies over the top. Press them very lightly into the batter so they stay put during baking.
 Pin
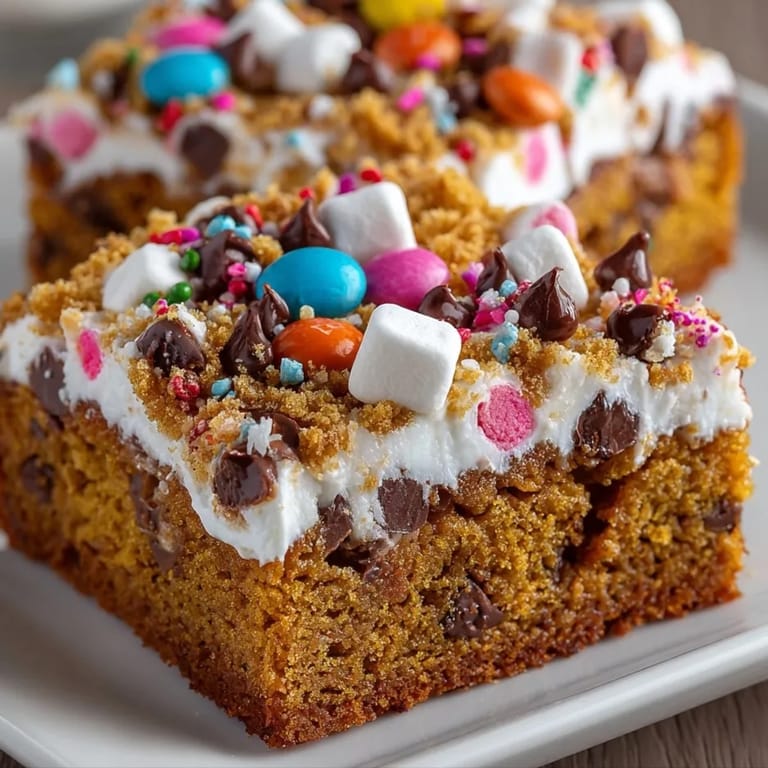
Pin The molasses in these bars is my secret weapon for achieving that deep, complex gingerbread flavor that reminds me of my grandmother's holiday baking. I always keep a jar in my pantry specifically for recipes like this because nothing else quite captures that authentic taste.
Storage and Freshness
Store your finished bars in an airtight container at room temperature where they'll stay fresh and chewy for up to four days. Layer them between sheets of parchment paper if you're stacking them to prevent the toppings from sticking together. For longer storage, wrap individual bars in plastic wrap and freeze for up to three months. They thaw beautifully at room temperature in about an hour.
Creative Substitutions
Feel free to swap the candy toppings based on what you have available or seasonal preferences. Halloween versions work wonderfully with orange and black candies, while Valentine's Day calls for pink and red treats. If someone has nut allergies, check all candy labels carefully and consider using nut free chocolate chips and marshmallows only. You can substitute the molasses with honey or maple syrup, though the flavor will be milder and less traditionally gingerbread like.
Serving Suggestions
These bars are perfect on their own, but they become extra special when served slightly warmed with a scoop of vanilla ice cream or a dollop of freshly whipped cream. For holiday parties, arrange them on a festive platter with other finger desserts. They pair beautifully with hot chocolate, spiced cider, or even a strong cup of coffee for the adults. Cut them into smaller squares for cookie exchanges or larger rectangles for a more substantial dessert.
 Pin
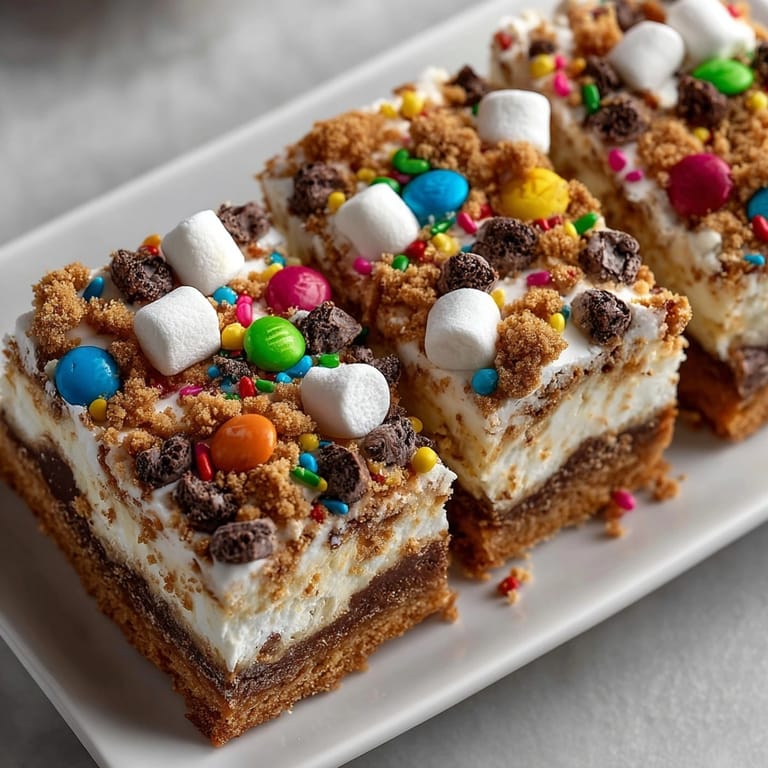
Pin Every time I bring these to a gathering, people ask for the recipe before they've even finished their first bite. The genius of these bars is that they look intentionally rustic and fun, so there's no pressure for perfection.
Recipe FAQ
- → What spices give these bars their gingerbread flavor?
The warm blend of ground ginger, cinnamon, cloves, and nutmeg creates that classic spicy, aromatic gingerbread taste, balanced with brown sugar for subtle sweetness.
- → How can I customize the toppings for more whimsy?
Swap in your favorite candies like gumdrops, sprinkles, or candy-coated chocolates, or add a drizzle of white chocolate or royal icing after baking for extra festive flair.
- → Why fold in some add-ins before baking?
Folding half the mini marshmallows, chocolate chips, and crushed cookies into the batter ensures even distribution and melty surprises in every bite, while the rest tops for visible fun.
- → Are these bars suitable for beginners?
Yes, the straightforward mixing and baking process makes them easy, requiring just basic tools like bowls, a whisk, and a baking pan—no advanced techniques needed.
- → How do I achieve the chewy texture?
The combination of molasses, melted butter, and gentle stirring prevents overmixing, while the baking time sets the edges firm but keeps the center soft and chewy.
- → What storage tips ensure freshness?
Keep in an airtight container at room temperature for up to four days; for longer, refrigerate and bring to room temp before serving to maintain chewiness.